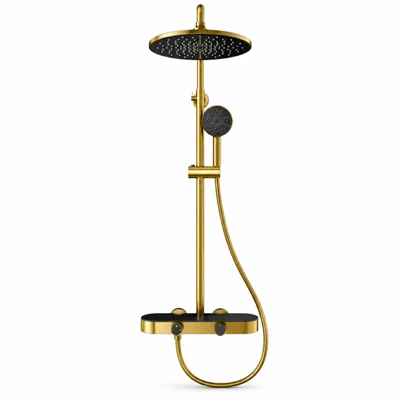
1. Remove the old faucet (if any)
Turn off the hot and cold water valves, usually located in the cabinet under the sink. Turn the valve handle clockwise until it is tightly closed to shut off the water supply.
Turn on the faucet to drain any remaining water from the pipes, avoiding splashing during disassembly.
Use an adjustable wrench to loosen the nuts securing the old faucet, usually located under the sink. If the nuts are tight, use a screwdriver or needle-nose pliers to help loosen them first.
Carefully remove the old faucet from the sink, cleaning away any debris and old sealant around the mounting holes.
2. Install the new faucet body
Remove the new faucet and place the rubber gasket onto the bottom threads of the faucet. The rubber gasket acts as a seal and cushion, preventing leaks between the faucet and the sink and reducing vibration.
Insert the faucet into the mounting holes in the sink, ensuring it is installed vertically and centered. From under the sink, place the retaining nut onto the faucet threads and hand-tighten it initially.
3. Connecting the Water Inlet Pipes
Distinguish between hot and cold water inlet pipes. Generally, blue marks indicate cold water and red marks indicate hot water. Connect one end of the corresponding inlet pipe to the faucet's inlet port and tighten by hand.
Wrap a suitable amount of Teflon tape around the threads of the inlet pipe, clockwise, ensuring even thickness. 5-8 turns are usually sufficient. The Teflon tape enhances the seal and prevents leaks.
Use an adjustable wrench to tighten the connection between the inlet pipe and the faucet, ensuring a secure connection. Then connect the other end of the inlet pipe to the valve on the hot and cold water pipes. Again, wrap Teflon tape around the pipe, tighten by hand, and finally secure with an adjustable wrench.